Regiments – More Lessons Learned in the Battles for Grasleben
“Victorious warriors win first and then go to war, while defeated warriors go to war first and then seek to win” ― Sun Tzu, The Art of War
At ease, ladies and gentlemen. Please take your seats; the briefing will start in a moment.
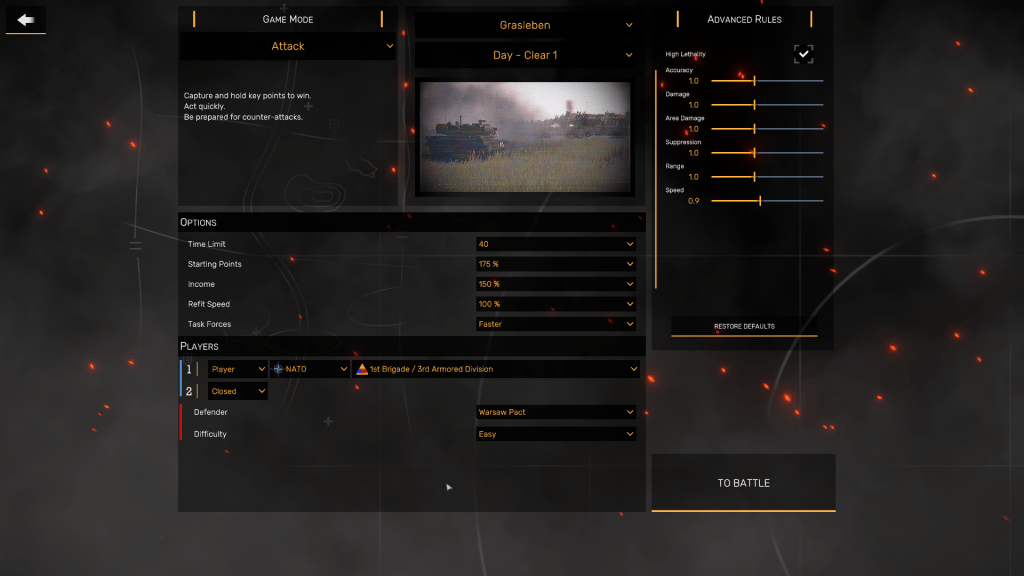
I am still on my self-imposed break from Regiments, the real-time tactical game from Bird’s Eye Games that was published by MicroProse on August 16, but I feel compelled to share a few more of the lessons I’ve learned while playing the Attack scenario set near the West German town of Grasleben during an alternate version of 1989 where tensions between East and West rose and the Cold War went hot.
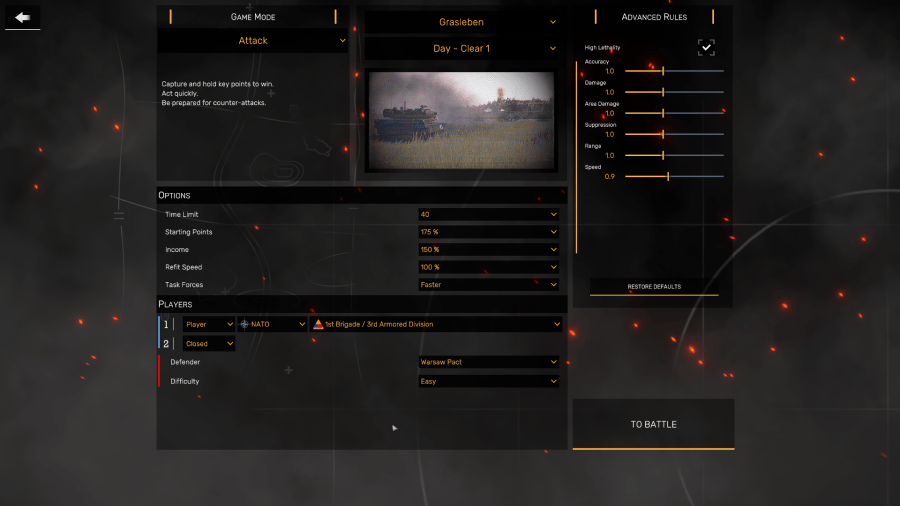
Not only have I learned to tweak the settings so a Skirmish (the Regiments term for a single engagement) to extend a scenario’s time limit and speed up the deployment process of Task Forces a bit, but I’ve acquired more practical knowledge about modern land combat, as well as refining some of the savvy I’ve acquired when playing similar games, including Armored Brigade, Wargame: AirLand Battle, and even the original MicroProse’s 1989 M1 Tank Platoon.[1]
Victory Through Superior Firepower

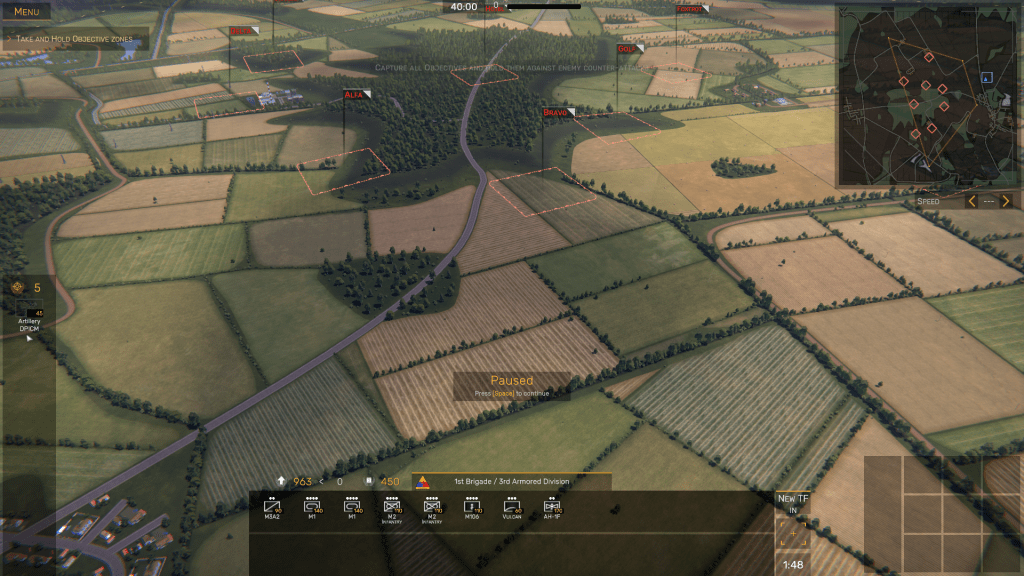
One of the toughest things to learn in Regiments is how to assemble a force that is strong enough to attack an enemy position that is divided into various sections called Objective Zones (OZs for short), especially since Bird’s Eye Games, taking its cues from Eugen Games’ Steel Division and Wargames series, designed Regiments so that you don’t have your entire unit – be it a battalion, regiment, or brigade, depending on your nationality or type of division – available when the Skirmish starts.
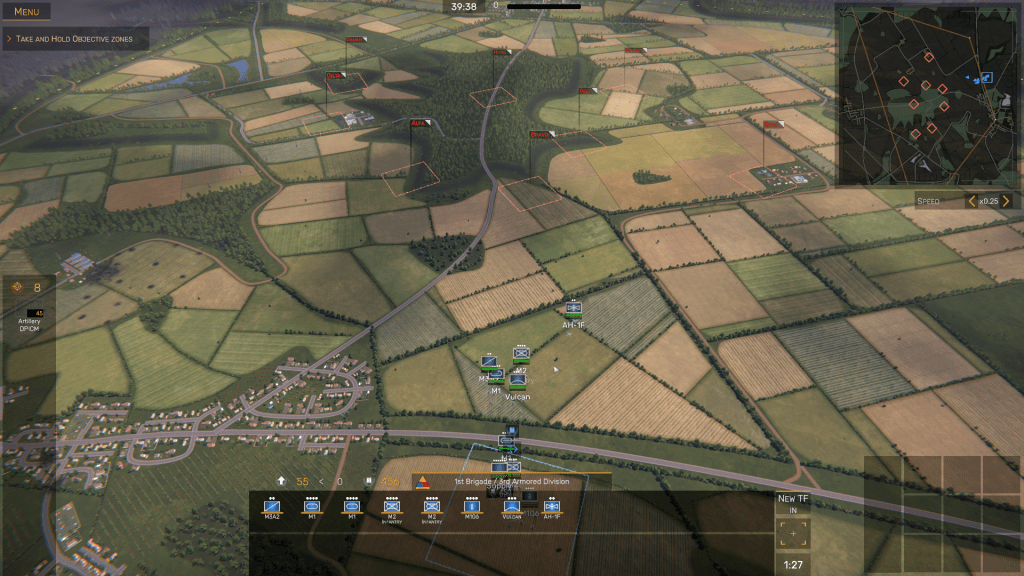
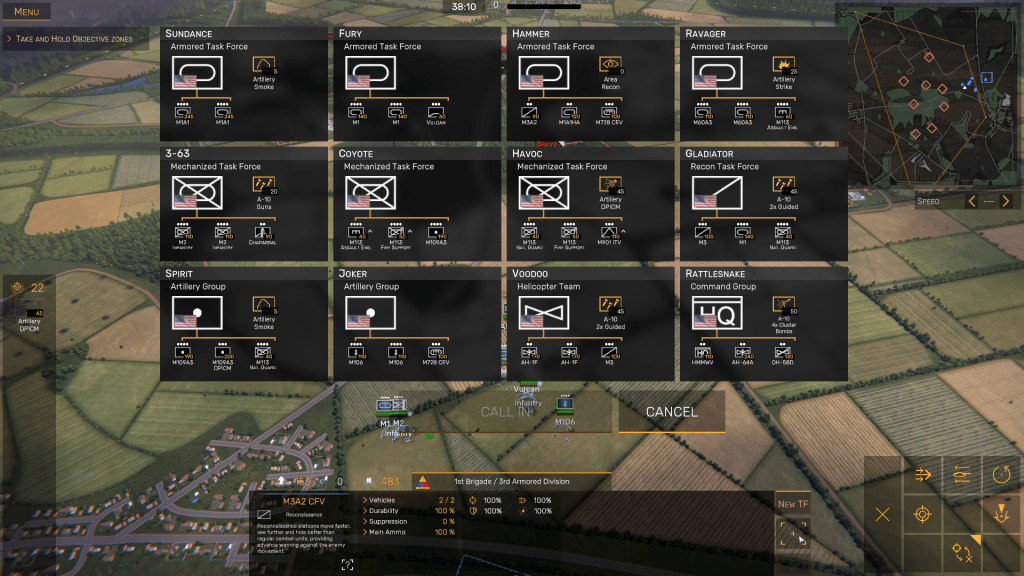
Instead, Regiments provides a core group of units (scouts, tanks, mechanized infantry, mortars, and mobile anti-aircraft guns) that you can “buy” using Deployment Points (DPs). DPs are a sort of “currency” that the game gives you, and even though you can run out of them when you’re buying your first units, Regiments slowly replenishes them while the mission clock is running. Eventually, if you are patient enough to wait, your “bank account” will have enough DPs not just to purchase your core task force’s platoons and attached specialized units, but also more platoons from the three additional Task Forces the game will permit you to call in during the battle.
The main takeaways to this are:
- You cannot deploy every single Task Force you see on the Task Force selection screen during the three opportunities the game gives you during a Skirmish. Therefore, you must strike a balance between the units which offer the most firepower and Tactical Aids (aka TacAids) and the necessary manpower, aka “boots on the ground” to grab and hold the eight OZs in the Graslaben scenario (or, really, any other Skirmish in Regiments)
- Choose Task Forces that give you air support or artillery TacAids. I prefer those that allow you to call in several types of A-10 air strikes, although the ones that give Artillery support from Division Artillery do come in handy. If you choose the NATO unit 1st Brigade/U.S. 3rd Armored Division, use your DPs to acquire the Task Force – call sign “Rattlesnake” – with the OH-58D Kiowa scout helicopter and its deadly counterpart, the AH-64A Apache gunship
Attack, Attack, and Keep Attacking (At Least, in the ‘Attack’ Skirmishes)
Regiments has three distinct types of Skirmish to represent various elements of modern land combat as it would have been fought had the balloon gone up in 1989 West Germany and World War III had started – Attack, Mobile Defense, and Meeting Engagement. Each one requires different tactics and mindsets.
I chose to start learning to play Regiments via Attack because the mission is straightforward if not necessarily simple. In this type of mission, the objective is clear: take and hold the various Objective Zones until the mission clock runs out.
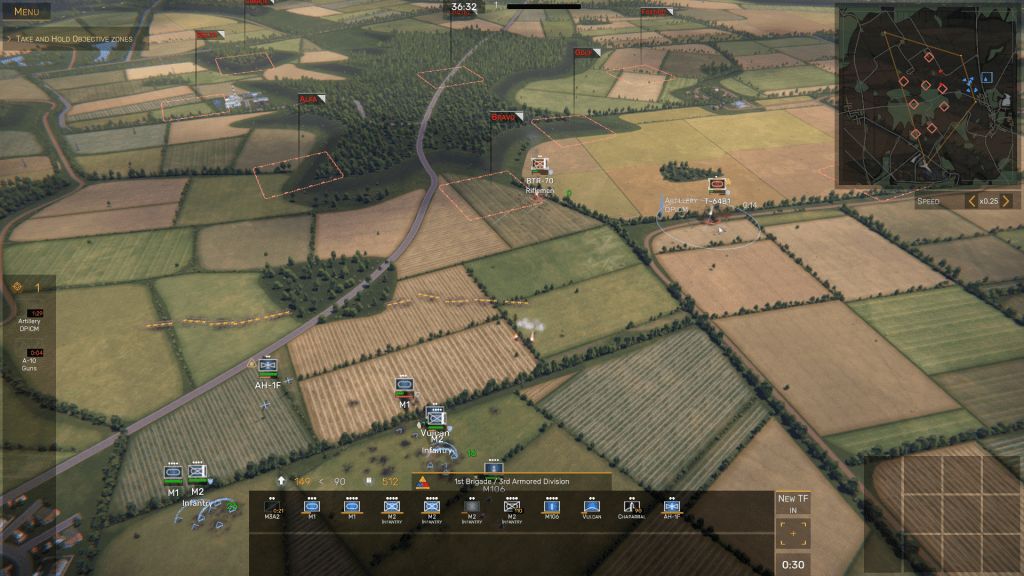
The first few times that I played Regiments in August, I usually attacked the nearest enemy-occupied OZ – usually either Alfa or Bravo, depending on their layout and/or proximity to my entry/supply zone near Grasleben – with my core group, before the game’s “Bitching Betty”[2]chimes in with a “New task force available” aural prompt.
I got lucky during my first Skirmish, but because I lacked the patience to wait until I had assembled a large enough aggregation of task forces to capture more than five OZs in one 30-minute battle, that first victory proved Pyrrhic; I won the Skirmish solely because I managed to kill just enough of the East German/Soviet force near Grasleben to eke out a Minor Victory.
After that first Attack mission, the game’s artificial intelligence (AI) commander denied me even minor wins for about three days. Oh, I always grabbed three or four enemy OZs and inflicted heavy casualties on the Warsaw Pact with my NATO units, but because of Regiments’ exacting scoring system that measures not just the number of men, vehicles, and aircraft lost, but also the Kill/Death Value Ratio (or Kill Death Ratio in similar wargames, such as Combat Arms).
What is that, you ask?
Per a wiki for another war game called Combat Arms,the Kill/Death Ratio is defined thusly:
Kill Death Ratio, or more commonly referred to as KDR, is a player statistic in online ranks and other ranking. It shows how many enemy (friendly kills do not count) players the player kills (on average) before dying. The higher the player’s KDR, the deadlier they tend/appear to be.
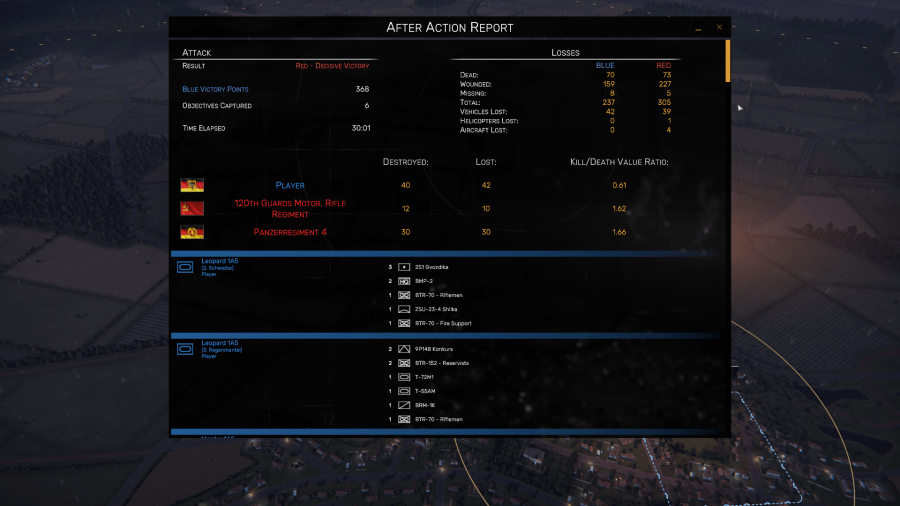
So, during my days as a noob playing Regiments, the AI units tended to have better KDRs than I did, and even if I “won” based on the number of enemy troops killed, wounded, or missing, the AI would still force a Draw or, worse, win by holding enough OZs to gain a decisive victory.
I have since learned that the best way to win a victory involves whittling away at the fringes of the enemy’s defensive perimeter with my initial force during what I call the “buildup” stage, i.e., choosing my three Task Forces, then, once I have a strong enough force and at least two firepower-heavy TacAids on hand, attack one or two of the enemy’s OZs, then keep up an offensive tempo, even if I have to execute the occasional tactical retreat to preserve platoons or attached specialist sections that suffer casualties in battle.
Or, in other words, once you capture your first OZs, only take brief pauses and keep moving on to the next objectives. Husband your TacAids and use them wisely – TacAid points take longer to replenish than Deployment Points; don’t waste them on air attacks or artillery strikes on seemingly unoccupied OZs.
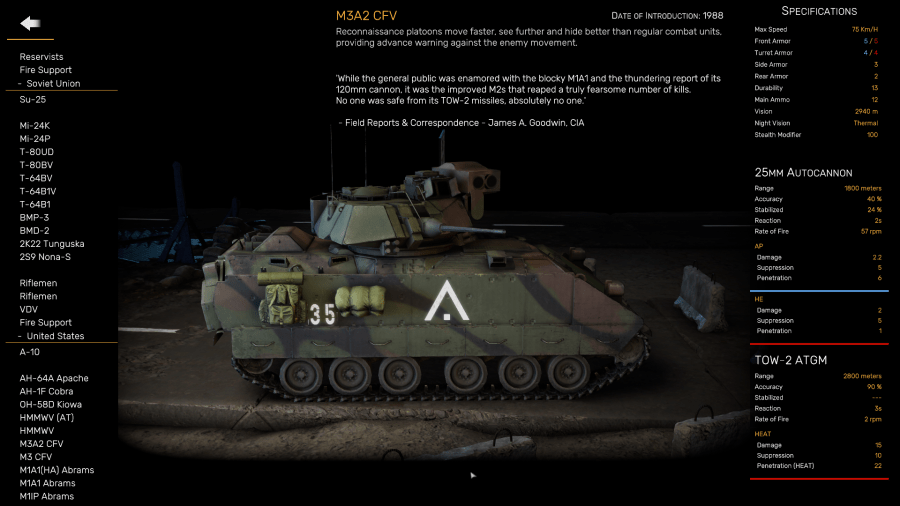
Yeah, the enemy might have units that you have not detected on those “empty” OZs, but what if your helicopters or M3 Cavalry Fighting Vehicles (or their equivalent in other NATO armies) spot an enemy unit and you can’t call in the A-10s or Divisional Artillery for an air strike/fire mission because you don’t have enough TacAid points available?
So, always use TacAids to either find the enemy (there is one that doesn’t require points, the Tactical Reconnaissance aid, but you need to have the Task Force that provides it) or call in artillery or air strikes against units you can see on the battlefield.
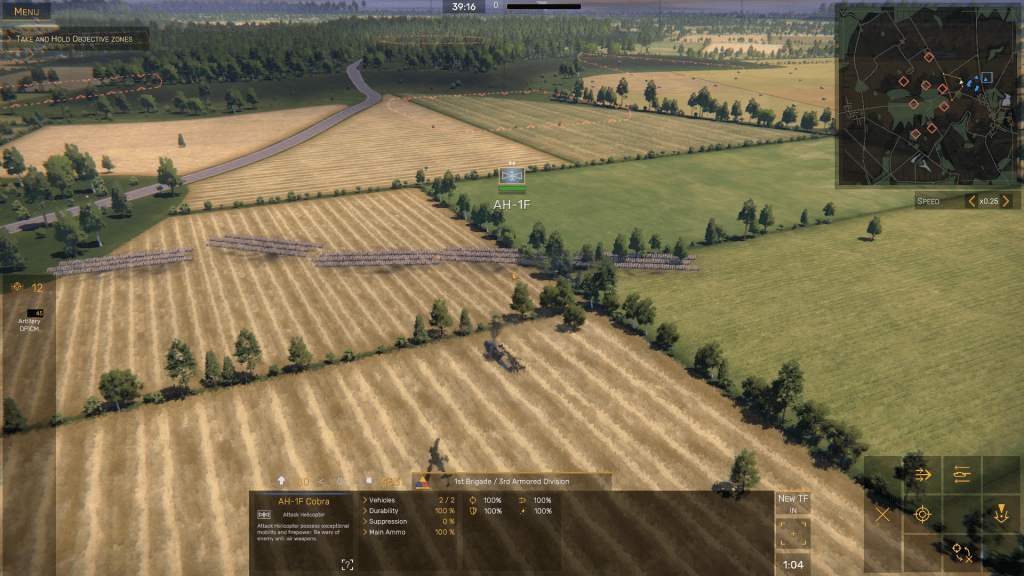
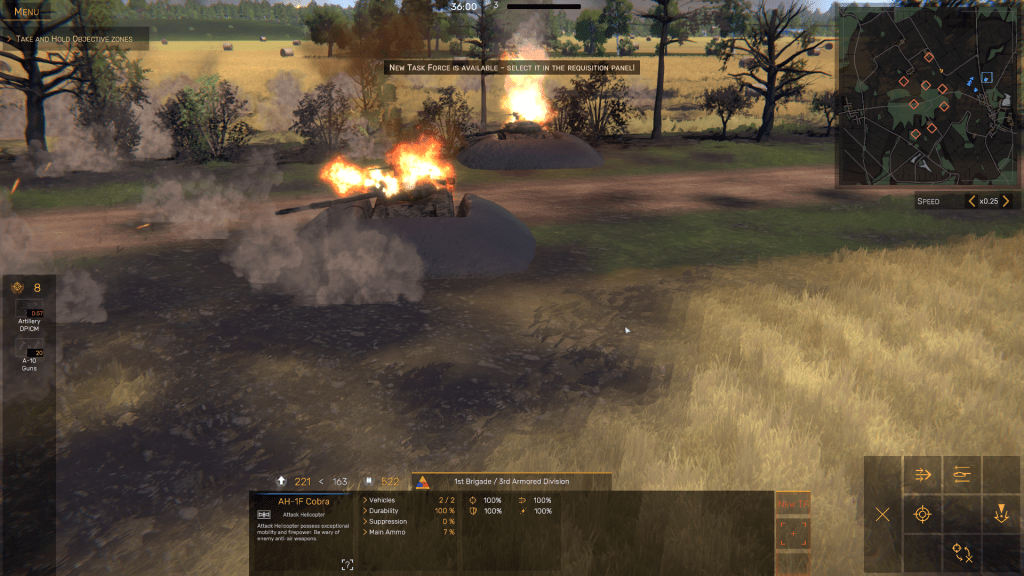
Additionally, use at least one Task Force with helicopters to seek out and destroy enemy armor from long ranges. I prefer to use the OH-58D/AH-64A combination, but in a pinch, a force equipped with two 2-helicopter sections of AH-1F Cobras will suffice. Be advised: helicopters pack a powerful punch, but:
- They are vulnerable to enemy air defense units and man-portable surface-to-air missiles (SAMs)
- They have a limited payload of anti-tank TOW (Tube-launched, Optical Wire-guided) missiles (Cobras) or Hellfire fire-and-forget anti-tank missiles (Apaches). You have to send them back to the entry zone/supply depot, where they can rearm, repair any damage, and refuel
There are more lessons I have learned from playing the Grasleben attack scenario in Skirmish mode, but that is all for today.
Thank you for your attention; you are now dismissed.
[1] The original company co-founded by Sid Meier and William Stealey was in Hunt Valley, MD until, after a series of mergers and acquisitions, its operations ceased circa 2004 and its headquarters was closed. The new MicroProse, which was revived in 2017 by its new CEO David Lagettie and original co-founder “Wild Bill” Stealey, is now based in Taylors Beach, New South Wales, Australia.
[2] Bitching Betty is the nickname given by U.S. pilots to the pre-recorded caution messages they hear when something goes wrong with their aircraft. These messages are spoken by a feminine voice rather than a male voice; researchers in the 1970s discovered that combat pilots – who were all men at the time – tuned out the caution warnings recorded by male speakers but were more attentive if the same warnings were spoken by a low, calm woman’s voice. Thus, the name, “Bitching Betty.”

You must be logged in to post a comment.